软件安装
ISE 安装
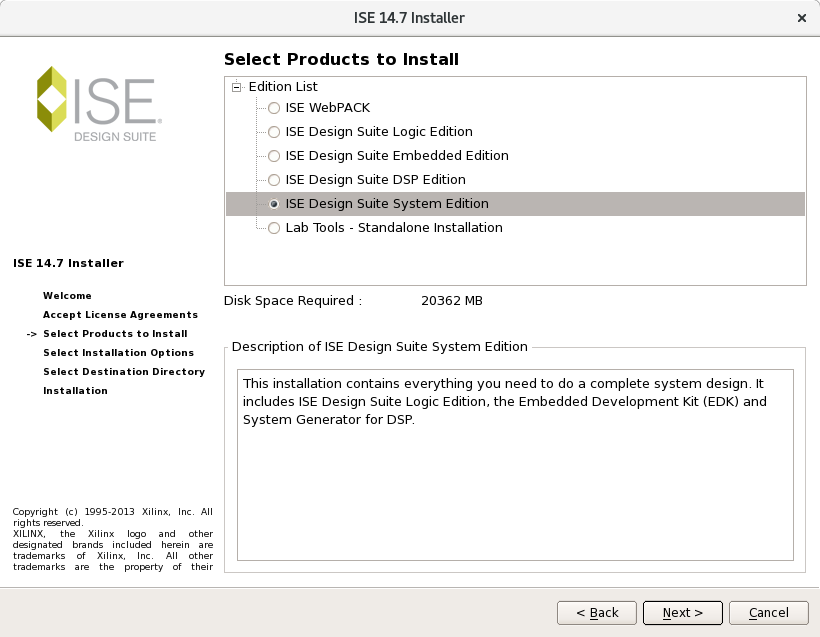
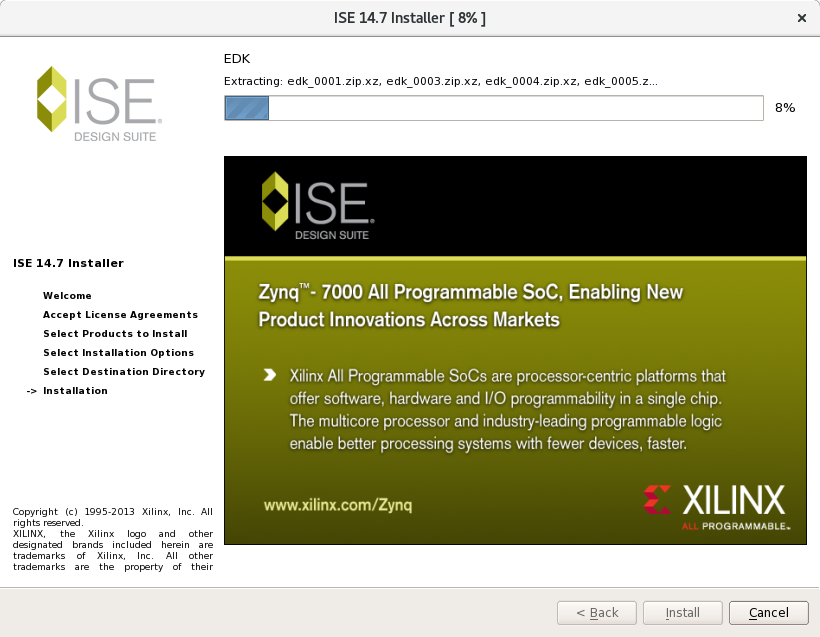
ISE 最后一个版本是 14.7,该版本在LINUX 系统中只能支持 CentOS 6,在 CentOS 7 中存在问题。
tar -xvf Xilinx_ISE_DS_Lin_14.7_1015_1.tar
cd Xilinx_ISE_DS_Lin_14.7_1015_1
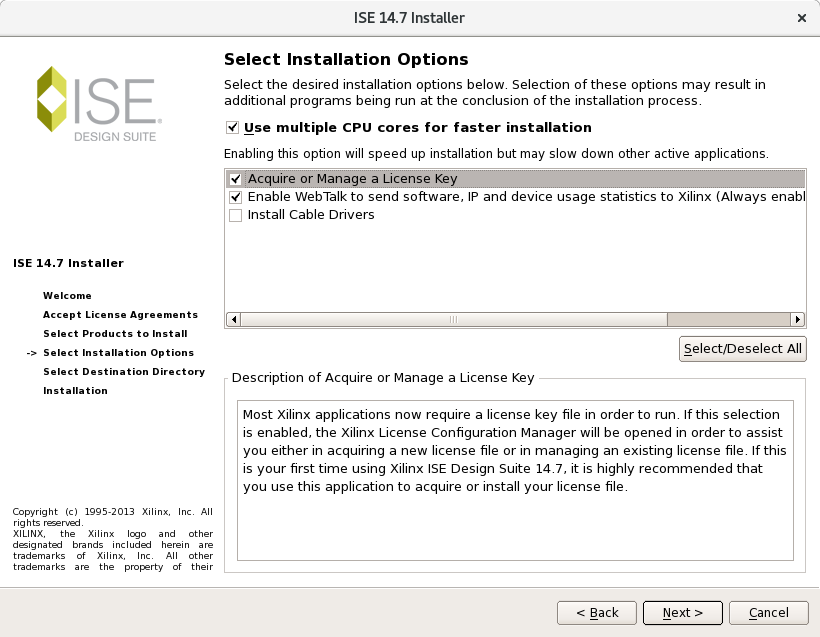
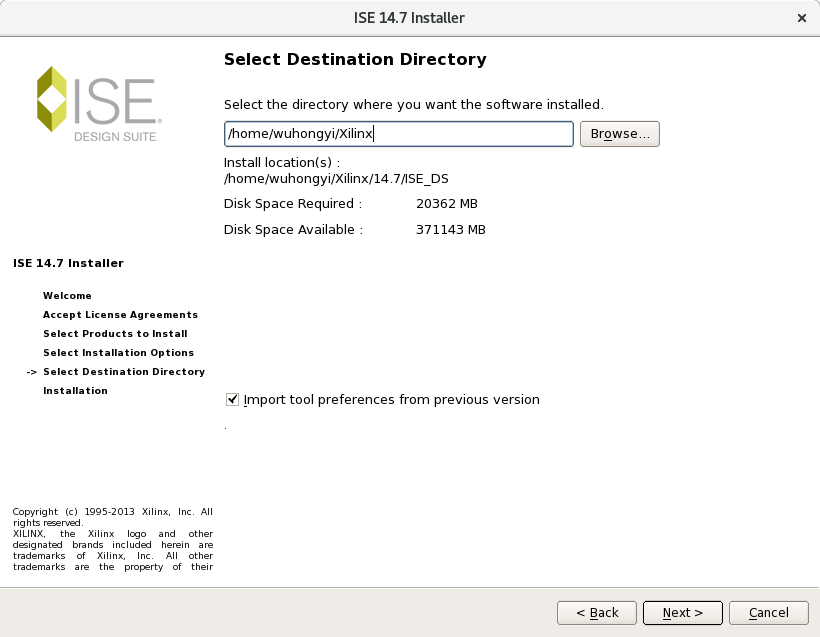
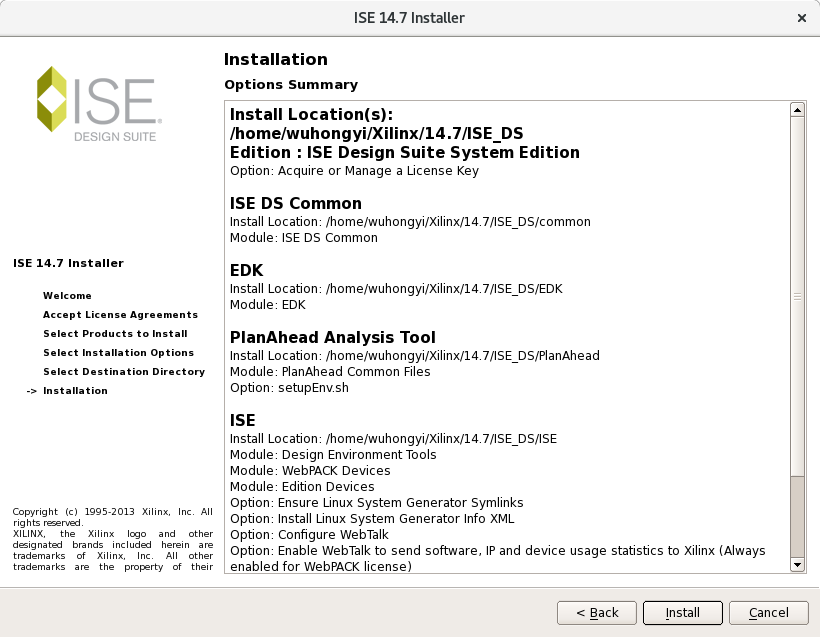
./xsetup
Altera 安装
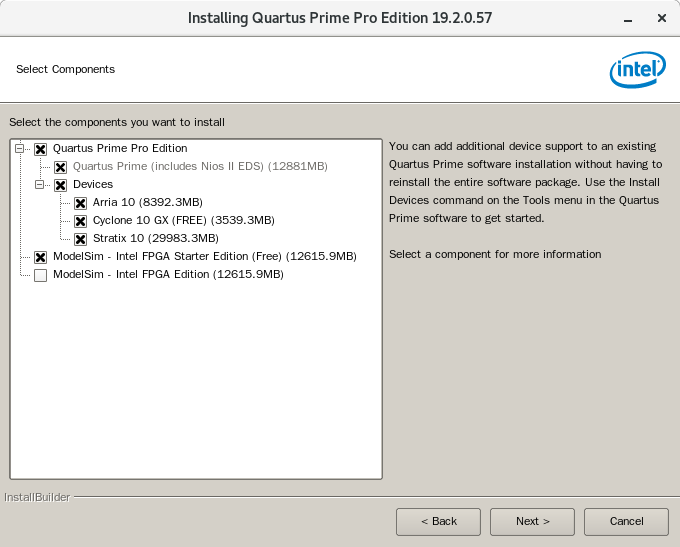
下载需要的所有文件,放在一个目录下
arria10-19.2.0.57.qdz                 ModelSimProSetup-19.2.0.57-linux.run
cyclone10gx-19.2.0.57.qdz             QuartusProSetup-19.2.0.57-linux.run
modelsim-part2-19.2.0.57-linux.qdz    stratix10-19.2.0.57.qdz
chmod +x QuartusProSetup-19.2.0.57-linux.run
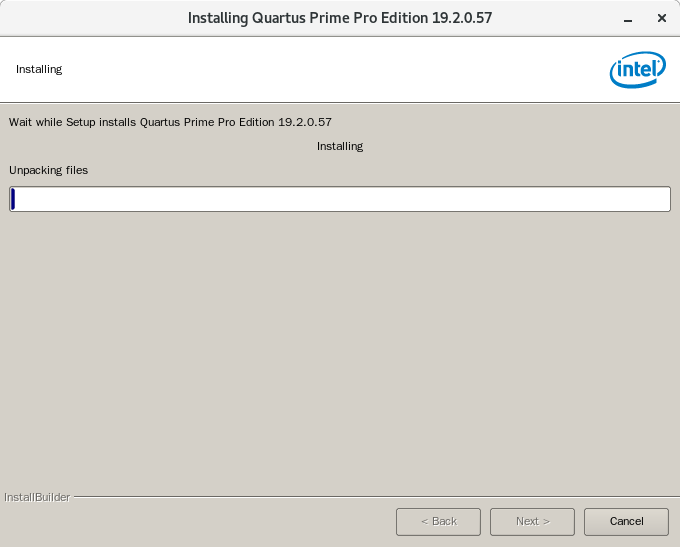
./QuartusProSetup-19.2.0.57-linux.run


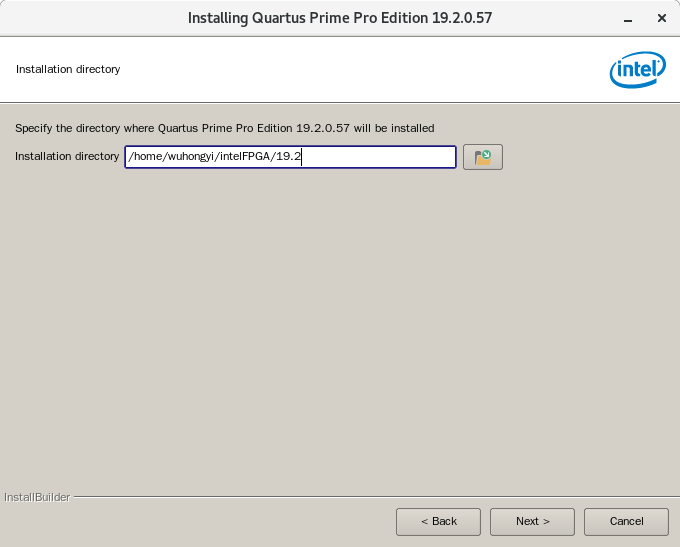
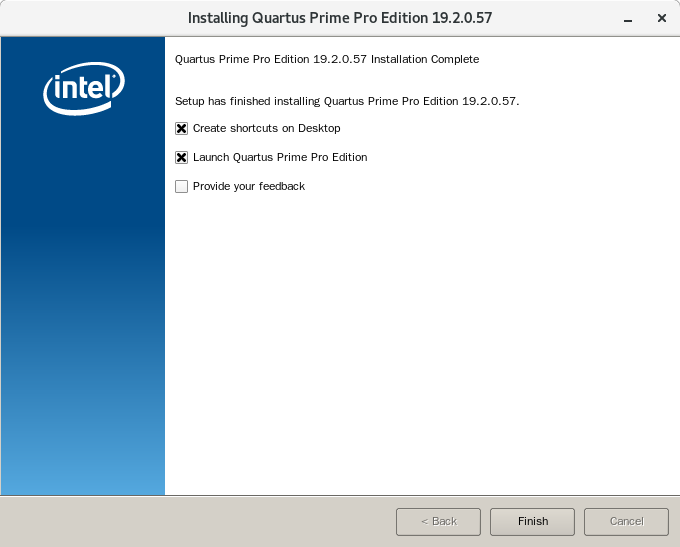
在安装路径下有以下文件
devdata  licenses  modelsim_ase  qsys     syscon
ip           logs        nios2eds         quartus  uninstall
quartus/bin 文件夹内存放 quartus 启动的脚本
./quartus
modelsim_ase/bin 文件夹内存放 modelsim 启动的脚本
./vsim
CentOS 7 中 ModelSim 对依赖软件 freetype 版本有一定的要求。经过测试表明 2.4.12 版本可以支持。通常采用 modulefile 来对系统中的软件进行多版本控制,以下是该软件的配置示例。
#%Module 1.0
# 这一行一般 module file 都有

set _module_name  [module-info name]
set is_module_rm  [module-info mode remove]
set sys        [uname sysname]
set os         [uname release]

# 冲突标识符gcc
conflict        freetype

set FREETYPE_CURPATH /opt/freetype/2.4.12
set FREETYPE_LEVEL 2.4.12
set FREETYPE_MAJLEVEL 2.4

# 所需路径
prepend-path    PATH            $FREETYPE_CURPATH/bin
prepend-path    LD_LIBRARY_PATH $FREETYPE_CURPATH/lib
prepend-path    LIBRARY_PATH    $FREETYPE_CURPATH/lib
linux usb blaster权限的设置
对于错误 error (209053): unexpected error in jtag server – error code 89,它产生的原因在于,在linux系统下,Quartus ii 的驱动 USB-Blaster 只能有 root 用户使用,而普通用户是无权使用的。解决思路是更改 USB-Blaster 的使用权限,使得普通用户也能使用。
因为usb 默认只有root才有权限访问,所以只要把权限修改一下即可,usb blaster 链接上电脑
[root@localhost 003]# lsusb
Bus 002 Device 002: ID 8087:8000 Intel Corp.
Bus 002 Device 001: ID 1d6b:0002 Linux Foundation 2.0 root hub
Bus 001 Device 002: ID 8087:8008 Intel Corp.
Bus 001 Device 001: ID 1d6b:0002 Linux Foundation 2.0 root hub
Bus 004 Device 001: ID 1d6b:0003 Linux Foundation 3.0 root hub
Bus 003 Device 004: ID 0bda:0184 Realtek Semiconductor Corp. RTS5182 Card Reader
Bus 003 Device 013: ID 09fb:6001 Altera Blaster
Bus 003 Device 003: ID 046d:c077 Logitech, Inc. M105 Optical Mouse
Bus 003 Device 002: ID 413c:2107 Dell Computer Corp.
Bus 003 Device 001: ID 1d6b:0002 Linux Foundation 2.0 root hub
说明 /dev/bus/usb/003/013 这个文件现在就是我们的 Altera Blaster 设备
cd /dev/bus/usb/003
chmod 666 013
Vivado 安装
tar -zxvf Xilinx_Vivado_SDK_2018.3_1207_2324.tar.gz
cd Xilinx_Vivado_SDK_2018.3_1207_2324
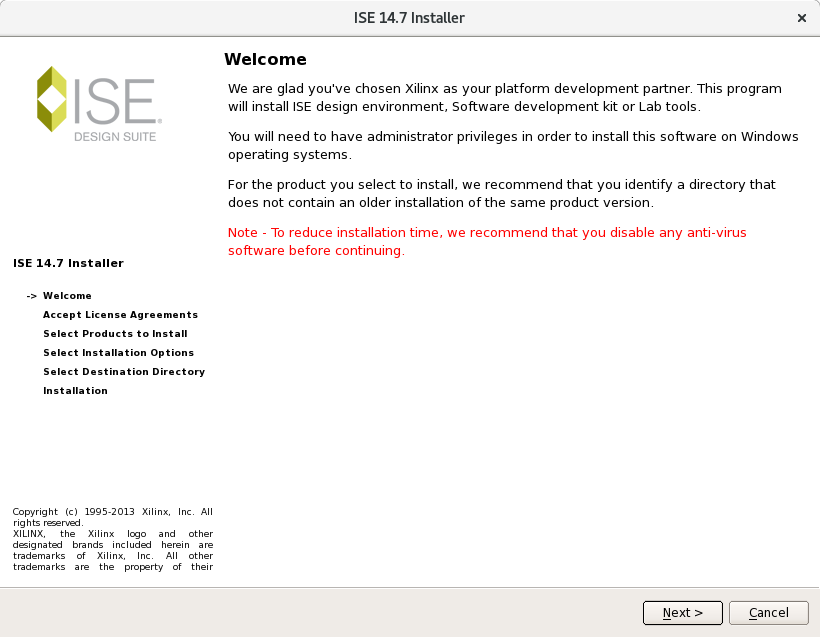
./xsetup
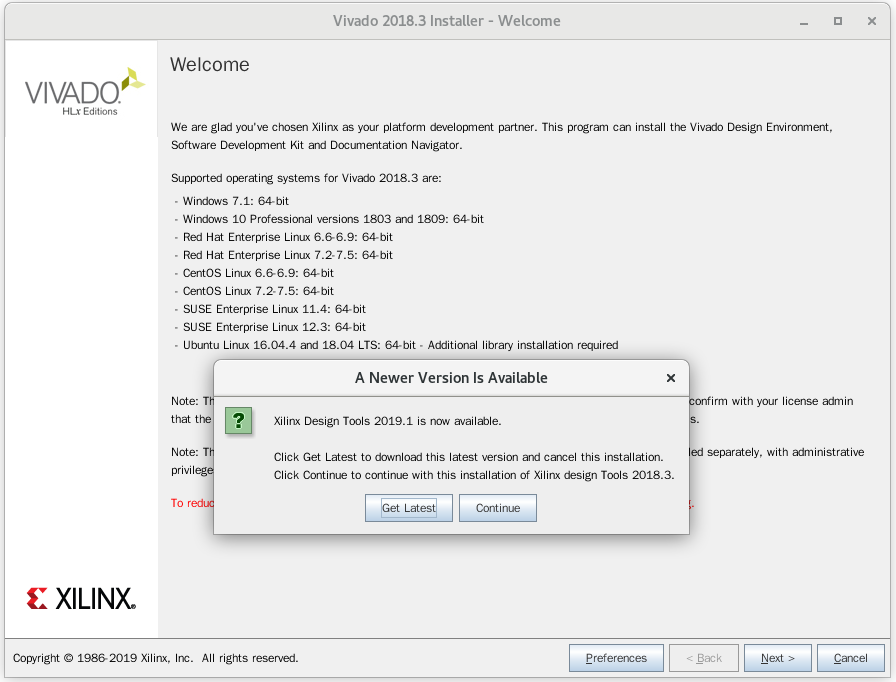
点击 continue选择不下载最新版本,然后点击Next进入下一步
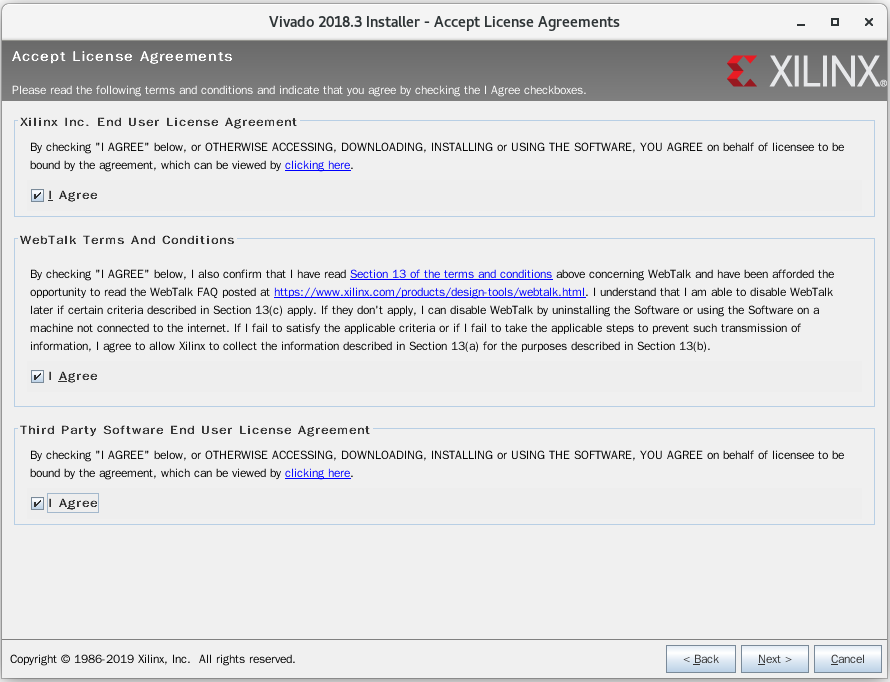
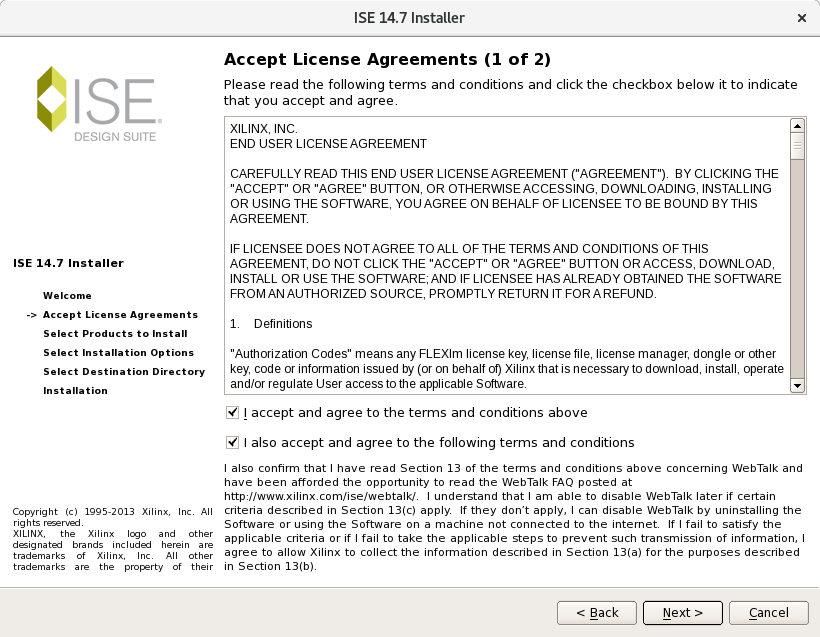
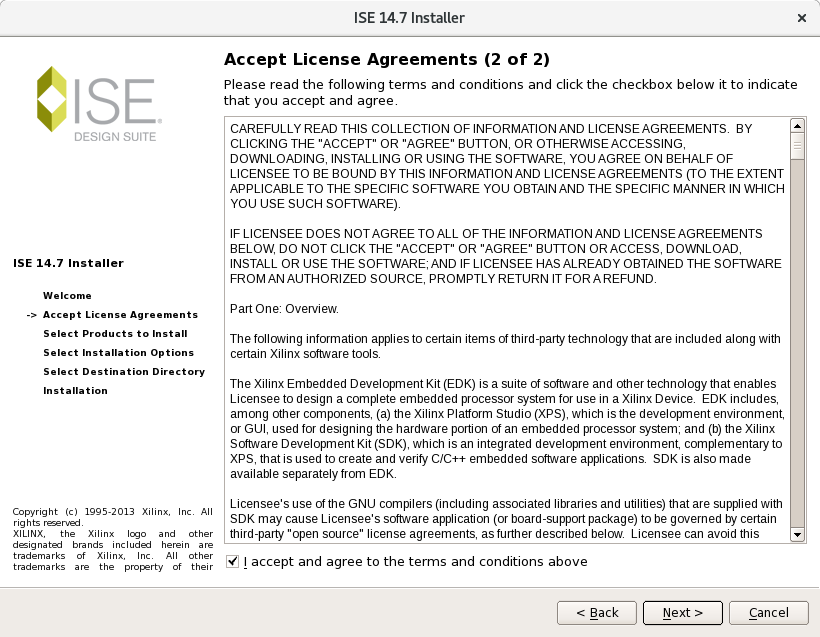
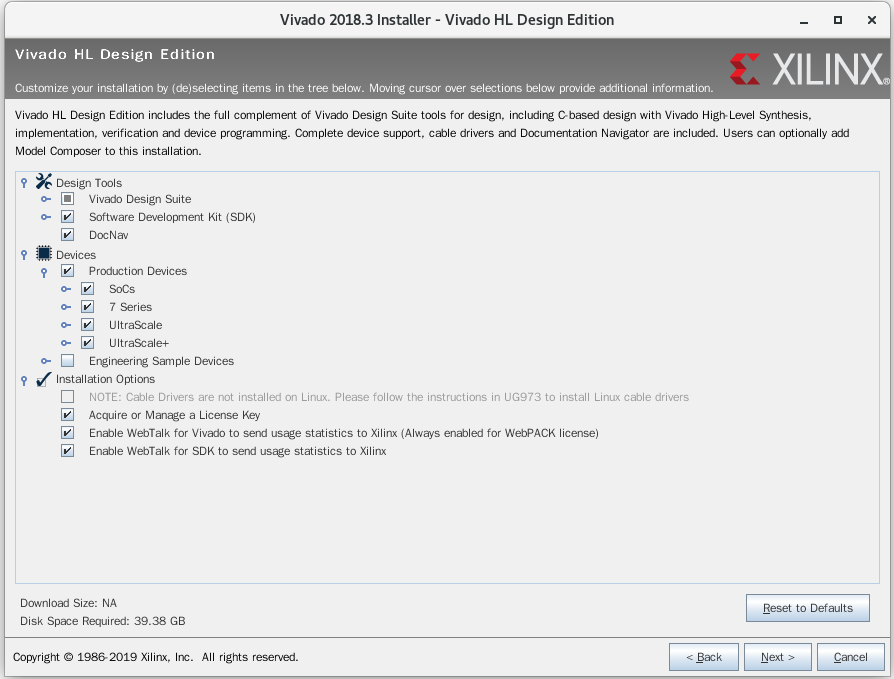
点击三个可选框,然后点击Next进入下一步
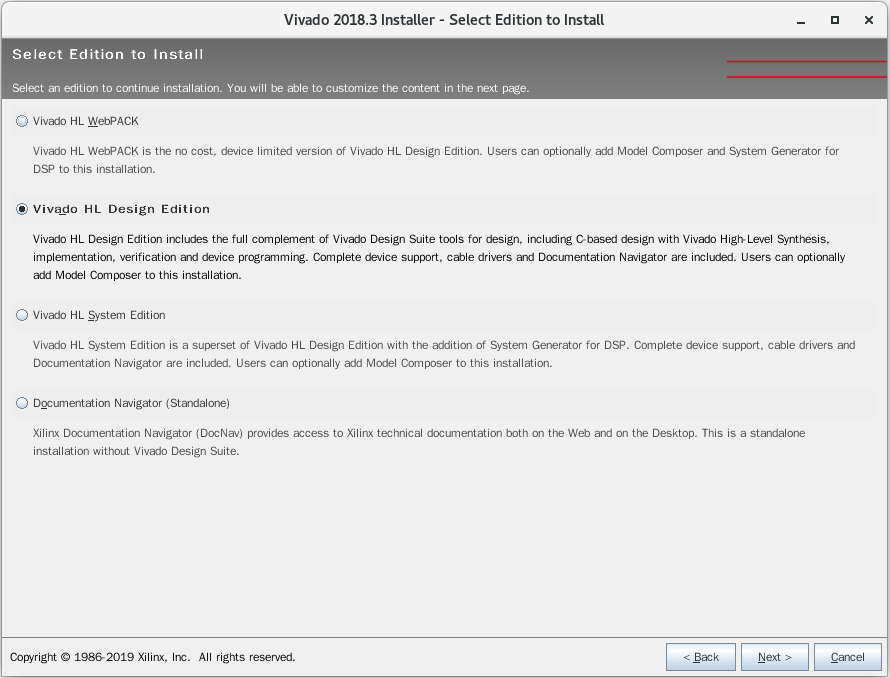
选择 Vinado HL Design Edition,然后点击Next进入下一步
直接点击Next进入下一步
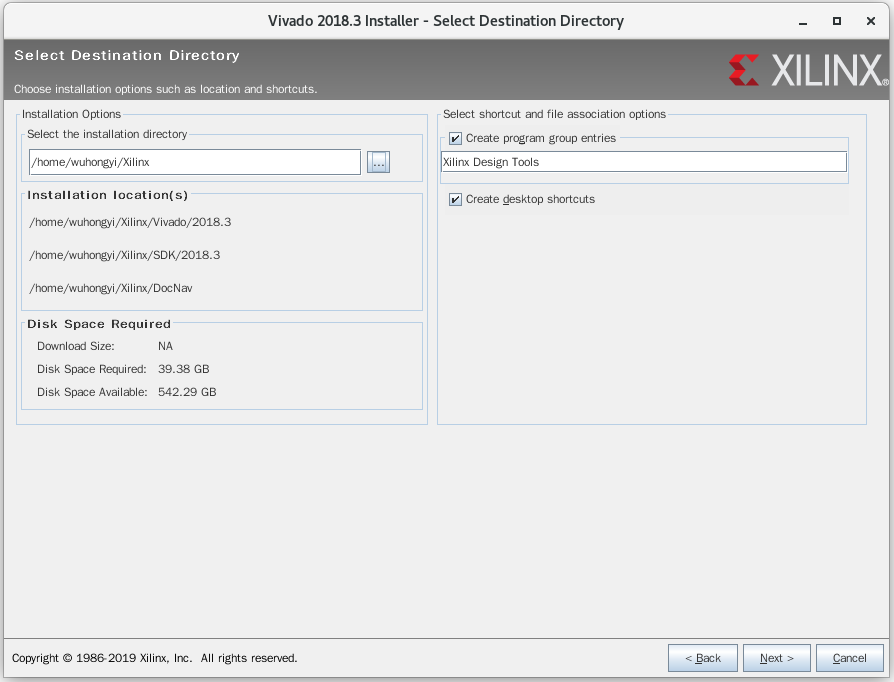
选择安装目录,这里我选择安装到 /home/wuhongyi/Xilinx ,然后点击Next进入下一步
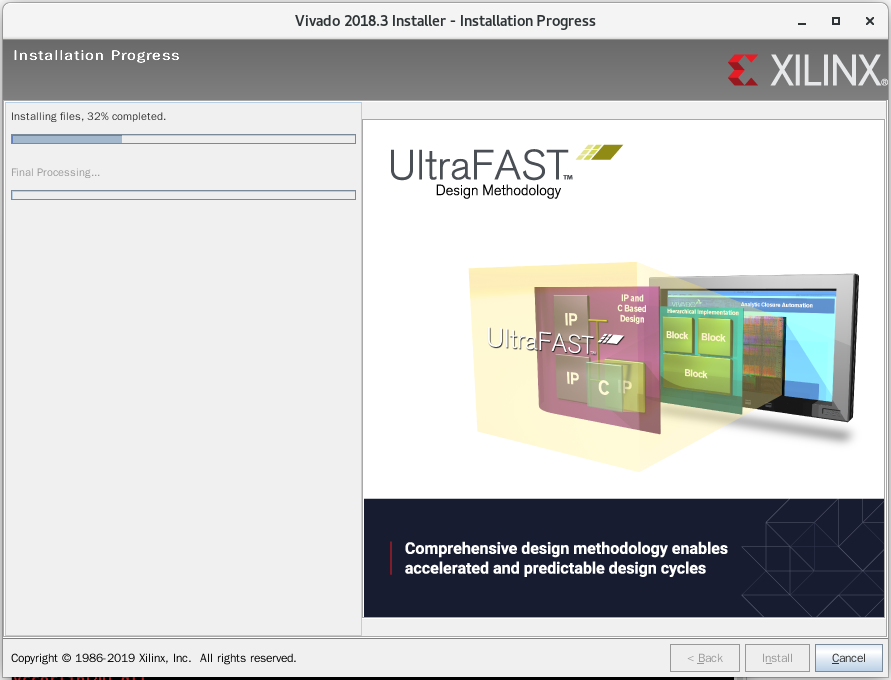
等待安装完成

将 vivadoLicence.lic 文件复制到 安装目录,这里为 /home/wuhongyi/Xilinx
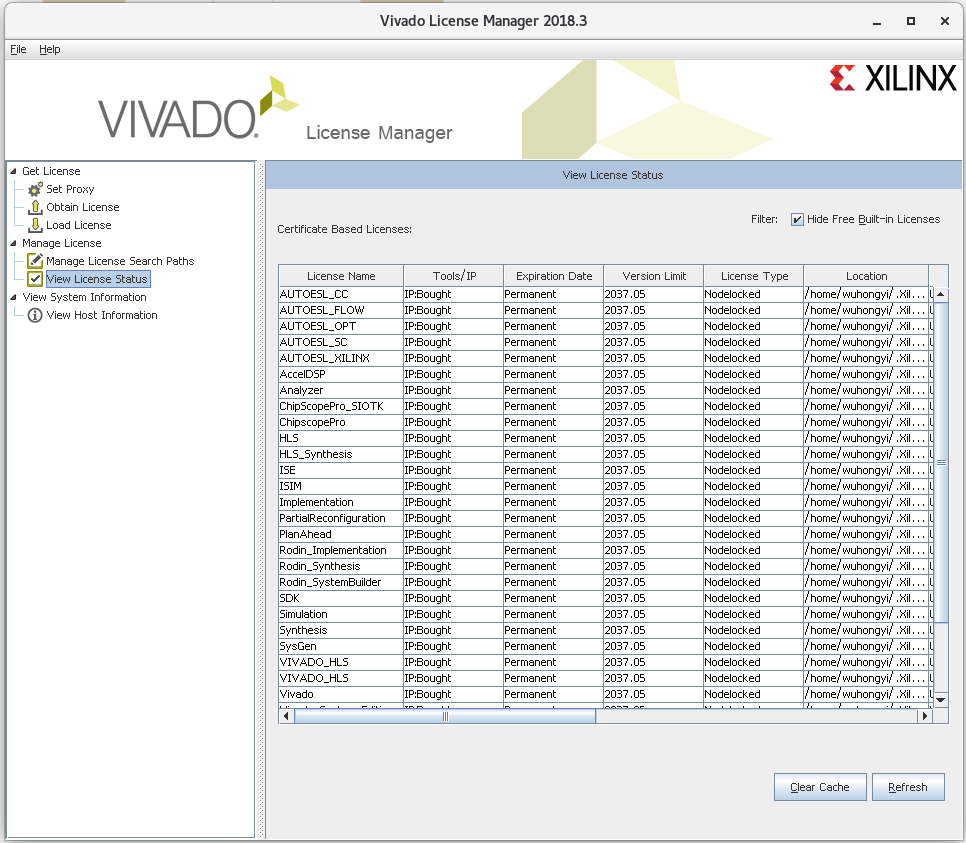
安装完成之后会弹出以下界面
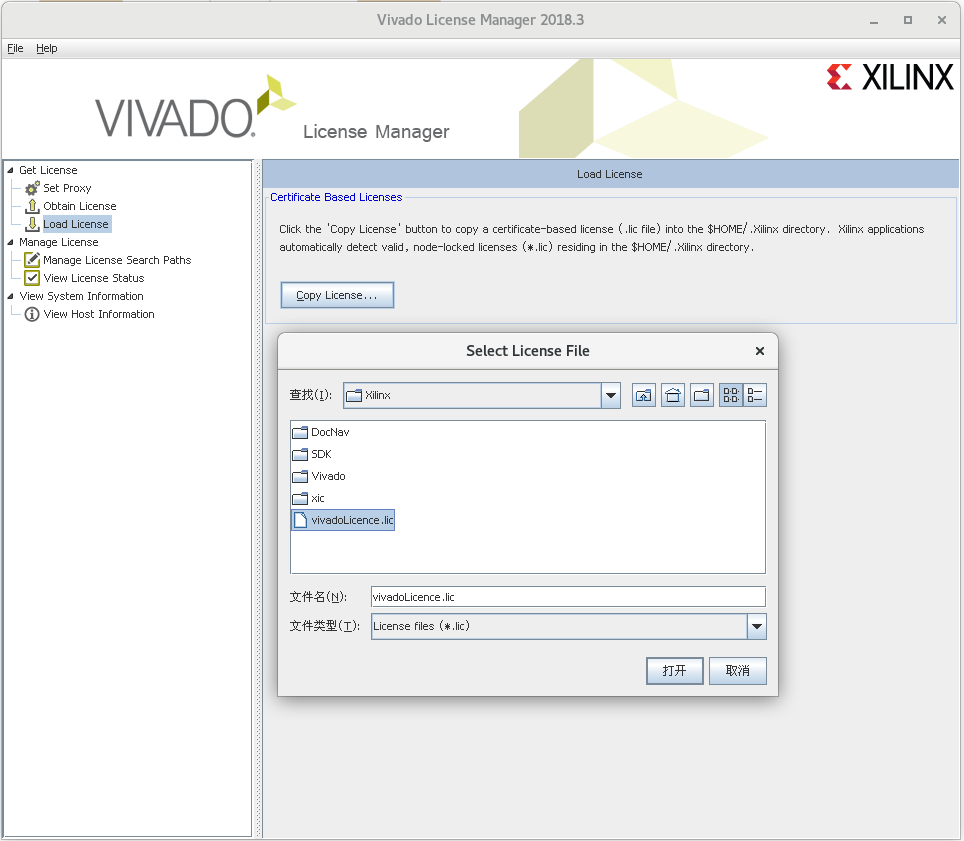
点击左上方的 Load License,选择我们的 vivadoLicence.lic 文件
然后点击左上方的 View License Status 可查看破解的IP核