Vivado
Install
tar   -zxvf   Xilinx_Vivado_SDK_2018.3_1207_2324.tar.gz
cd    Xilinx_Vivado_SDK_2018.3_1207_2324
./xsetup
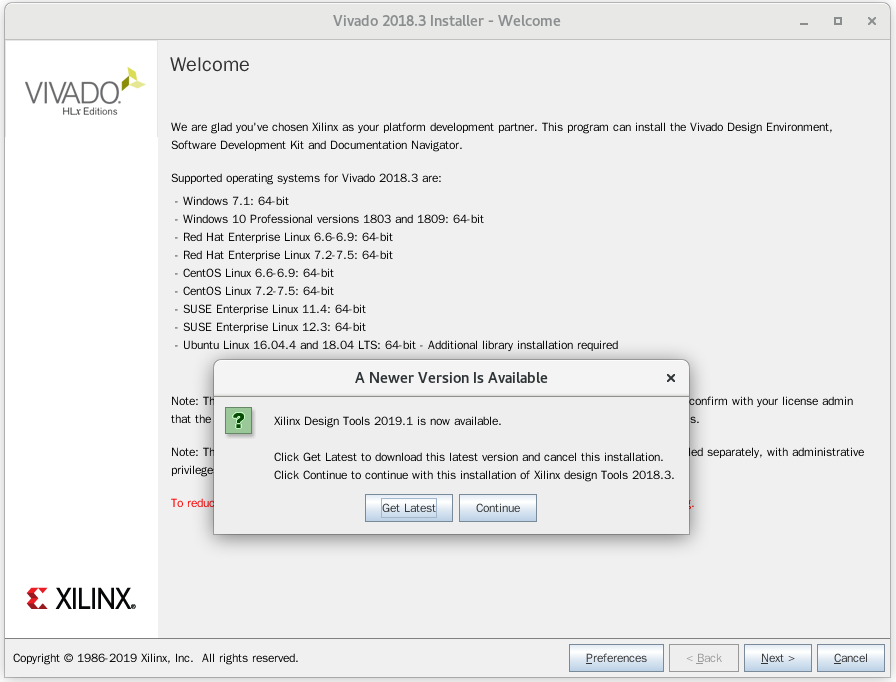
Click “continue” to choose not to download the latest version, then click “Next” to go to the next step
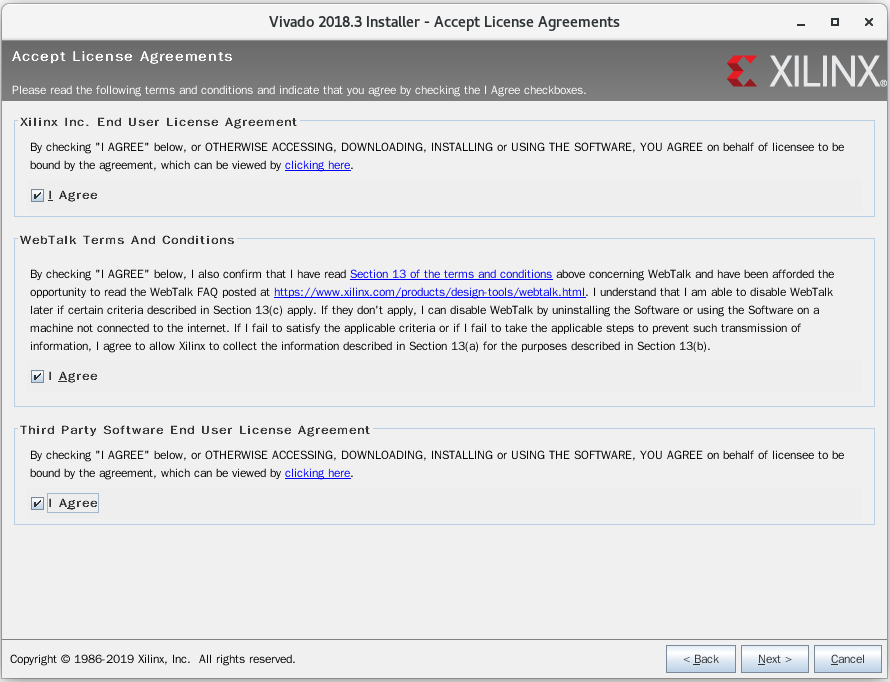
Click on the three optional boxes and then click “Next” to go to the next step
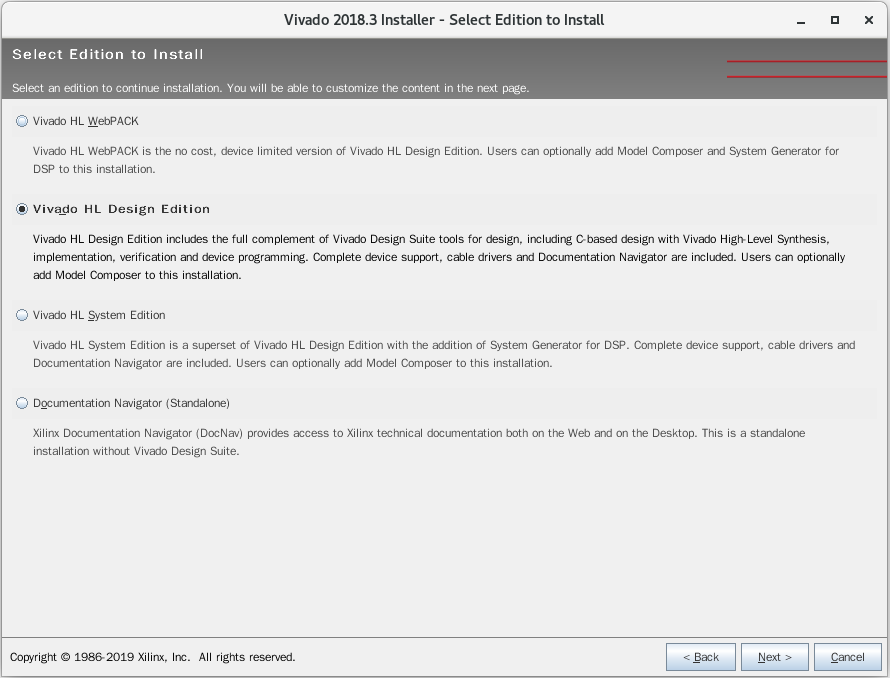
Select “Vinado HL Design Edition” and click “Next” to go to the next step
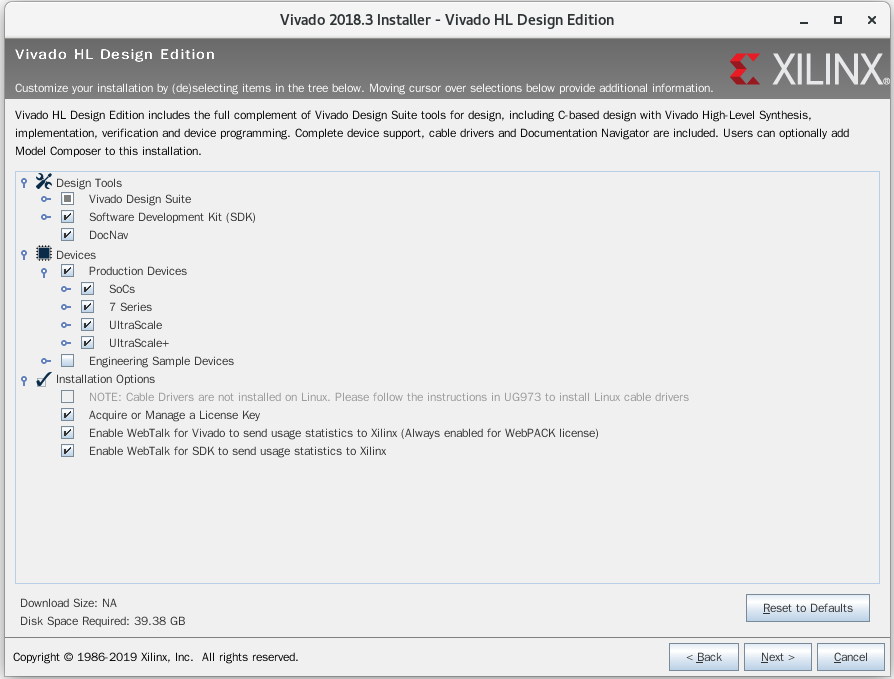
Click “Next” directly to enter the next step
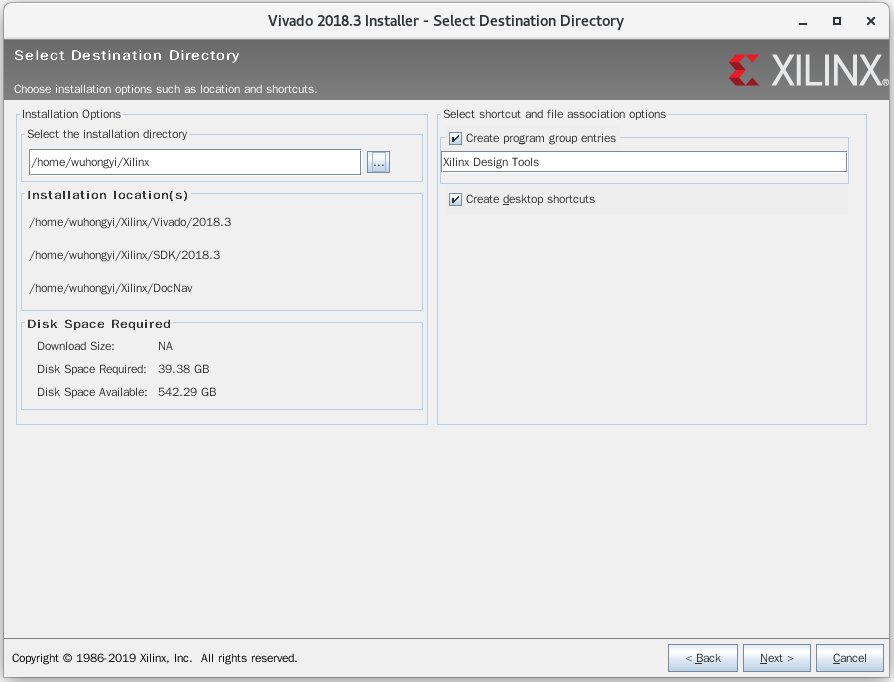
Select the installation directory, here I choose to install to “/home/wuhongyi/Xilinx”, and then click “Next” to enter the next step
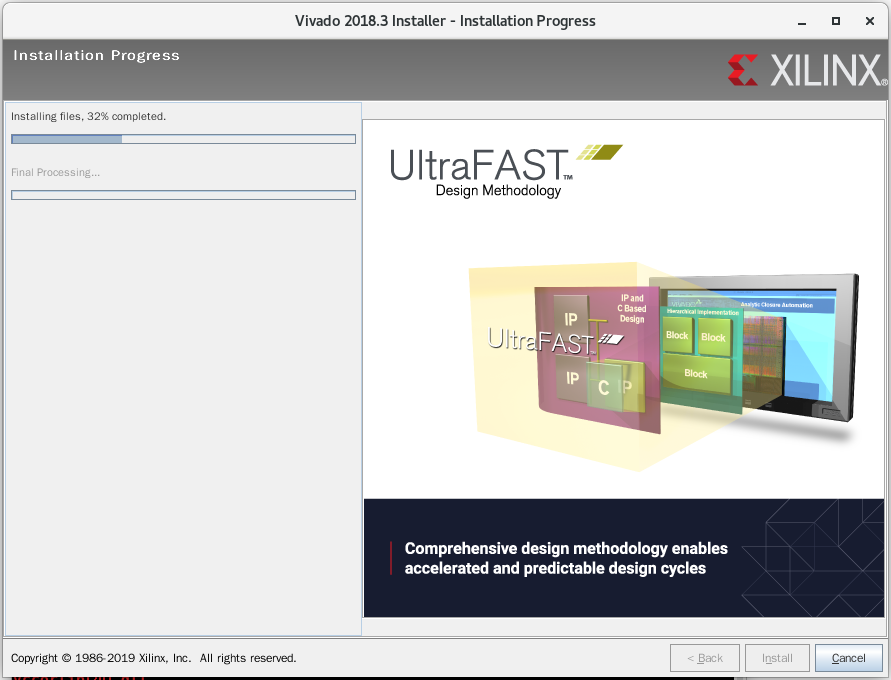
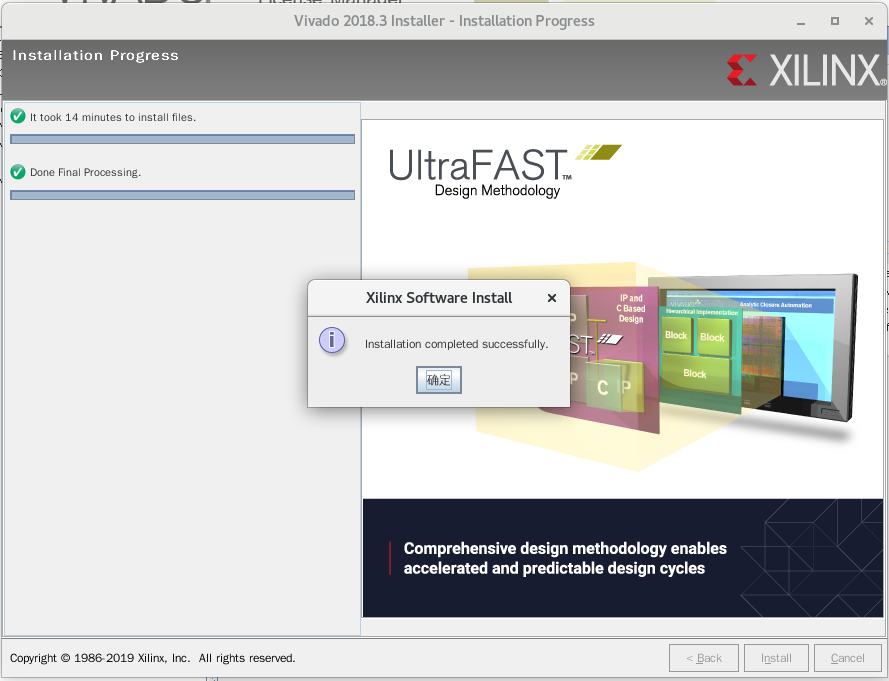
Wait for the installation to complete
The following two steps are not necessary.
Copy the “vivadoLicence.lic” file to the installation directory, here is “/home/wuhongyi/Xilinx”
After the installation is complete, the following interface will pop up
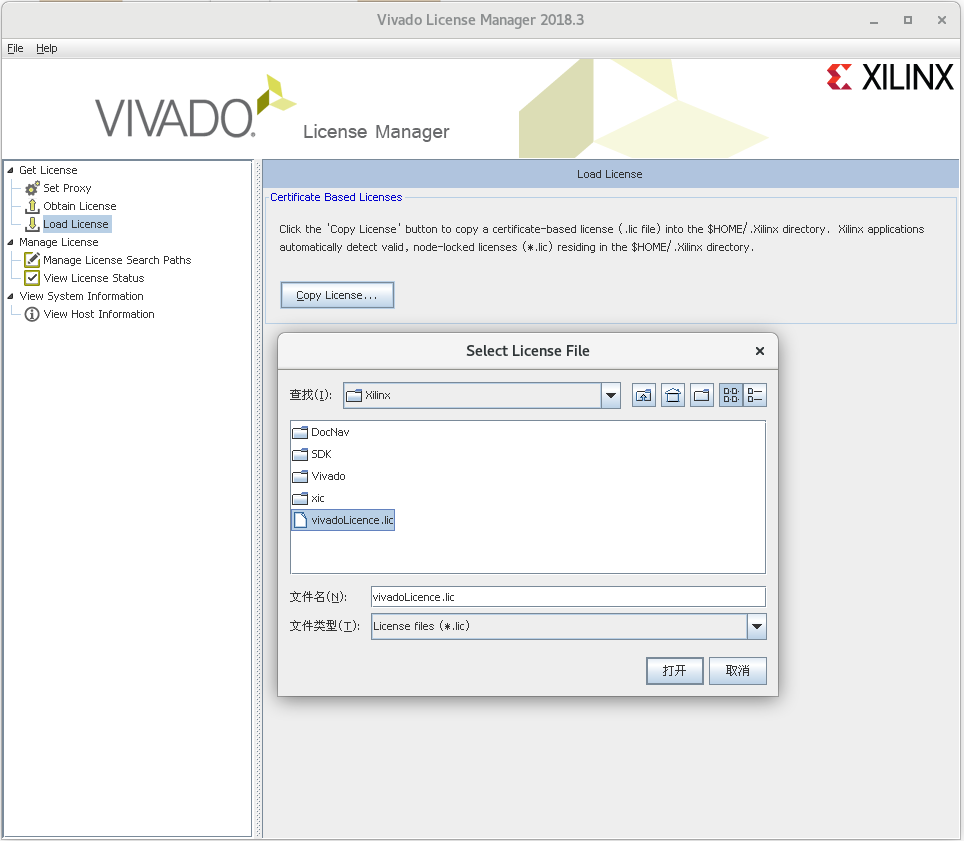
Click on the “Load License” in the upper left and select our “vivadoLicence.lic” file
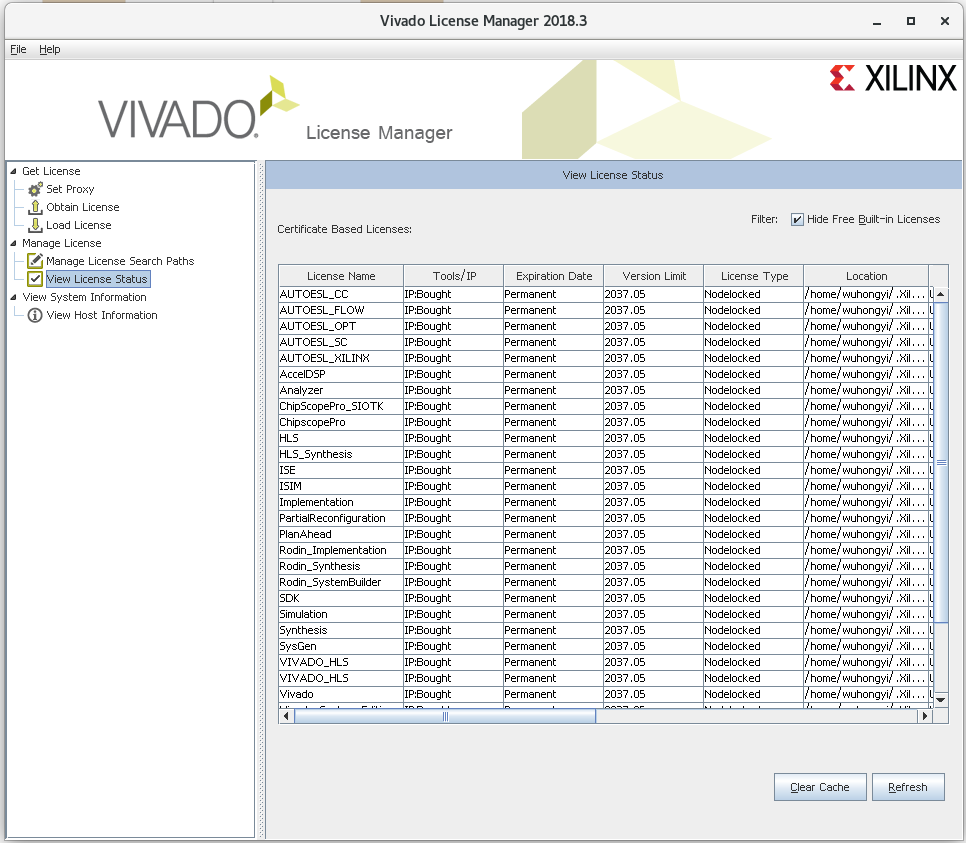
Then click “View License Status” in the upper left to view the authorized IP core
Compile
When you open it for the first time, you need to clear the P16_MZTIO_FW_0p01/build folder.
Open Vivado. Use Tools > Run Tcl Script to run project generating script …/verilog/xillydemo-vivado.tcl. The resulting project file is in …verilogvivado
There have been cases where the script crashes Vivado, and then the compile has ~100 pin property critical warnings. In such cases, start over.
Compile demo project (generate bitstream). Ignore warnings and critical warnings.
Check build/xillydemo.runs/impl_1/xillydemo.bit
In system debug
Is possible???